
Diagonal Composite Decking Installation: Step-by-Step Guide
Installing composite decking boards diagonally is an excellent way to elevate your outdoor design. A diagonal or angled layout adds visual depth and can make smaller spaces feel larger and more dynamic.

Author Name
Chief Writer
Thu, 28 Jul 2026
This step-by-step guide explains how to install composite decking boards diagonally, ensuring a durable finish that lasts for decades.
How to Install Composite Decking Diagonally
Recommended joist centres for diagonal installation are 250mm.
It is also recommended that you add 15% extra material when building a diagonal deck as you will generate more scrap from cutting.
Step 1 - Install the central board
Place the central board first; ensuring to place the board at a 45° angle.
Install 1 hidden fastener each time the board crosses a joist.
Always use hidden fasteners to secure board ends.
Use 1 fastener per board end at butt joints (never share a fastener across 2 board ends).
Use a mitre square to ensure an exact 45° angle.
Step 2 - Install the remaining deck boards
After laying the central board, progressively place each board outward toward the subframe corners.
Boards offcuts can be kept and used for finishing the corners.
Allow a slight overhang over the edge of the substructure.
Step 3 - Trim and finish
Once all boards have been fixed in placed, trim the deck board overhang with a circular saw.
Complete the deck with an edge finishing.
Key Installation Tips
Allow for extra material, diagonal decks use more boards due to angled cuts.
Tighten fixings evenly to prevent board lift at corners.
Check alignment frequently, small errors compound over distance.
Use hidden fasteners for a clean, uninterrupted surface.
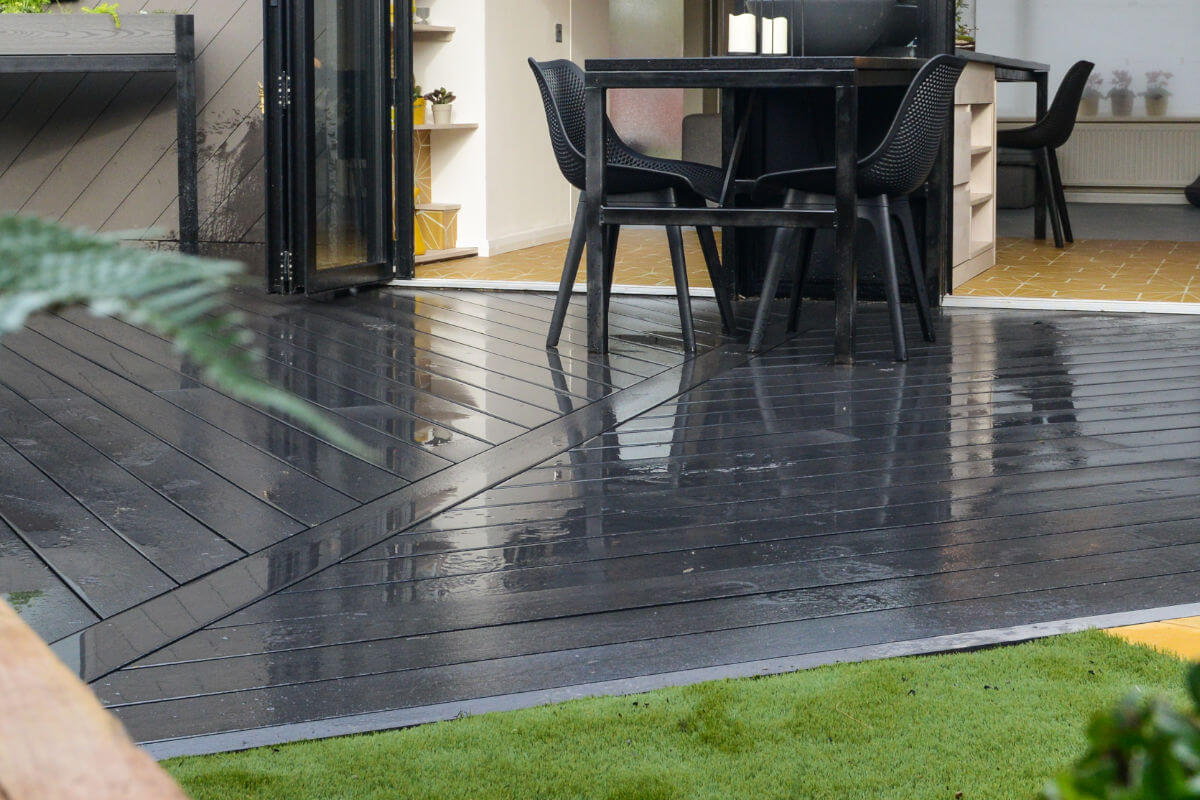
Modern Style Meets Lasting Performance
Installing composite decking diagonally creates a sophisticated, high-end finish that enhances the visual character of any outdoor space. With planning, proper support and accurate cutting, a diagonal layout provides exceptional strength and timeless appeal.
Whether you’re designing a feature deck for a garden, balcony or commercial terrace, composite decking offers the stability, colour consistency and durability needed to achieve the perfect angled deck installation.
EnviroBuild offers a complete range of composite decking boards, hidden fasteners and substructure systems engineered for modern installations.